A hair transplant is often described as life-changing, but behind every successful result lies a carefully structured medical process. Patients who choose Turkey for their surgery often ask not only “what will my results look like?” but also “what exactly happens along the way?” Understanding each stage of the operation helps you prepare mentally and physically, and gives you confidence that nothing is left to chance.
Turkey’s reputation isn’t built on affordability alone. It comes from a system where every step is designed to be efficient, patient-focused, and medically precise.
In this article, we’ll walk you through the full timeline of a hair transplant operation in Turkey. You’ll see what happens before you travel, how your surgery is planned and performed, and what recovery really looks like, so you can approach your procedure with clarity rather than guesswork.
First Contact with the Clinic
The process starts long before you sit in the surgeon’s chair. For most patients, the journey begins with an online consultation including a crucial step where the foundation of your treatment plan is built.
At this stage, you’ll usually:
- Share photos of your scalp from different angles, giving the medical team a clear view of your hair loss pattern.
- Answer questions about your health background, including medical conditions, medications, or past procedures.
- Receive an initial assessment where specialists outline how many grafts you may need and which techniques could suit your case.
- Get an overview of the treatment package, covering not only the surgery but also accommodation, transfers, and aftercare.
For many international patients, affordability is often the first question. To understand why Turkey can provide world-class care at accessible prices, see our blog Why Is Hair Transplant Cheap in Turkey?“

Pre-Operative Consultation and Planning
Once you arrive in Turkey, your first day is usually dedicated to consultation and planning. This is where your treatment moves from a preliminary assessment to a detailed, personalized surgical plan.

During this stage, the medical team focuses on:
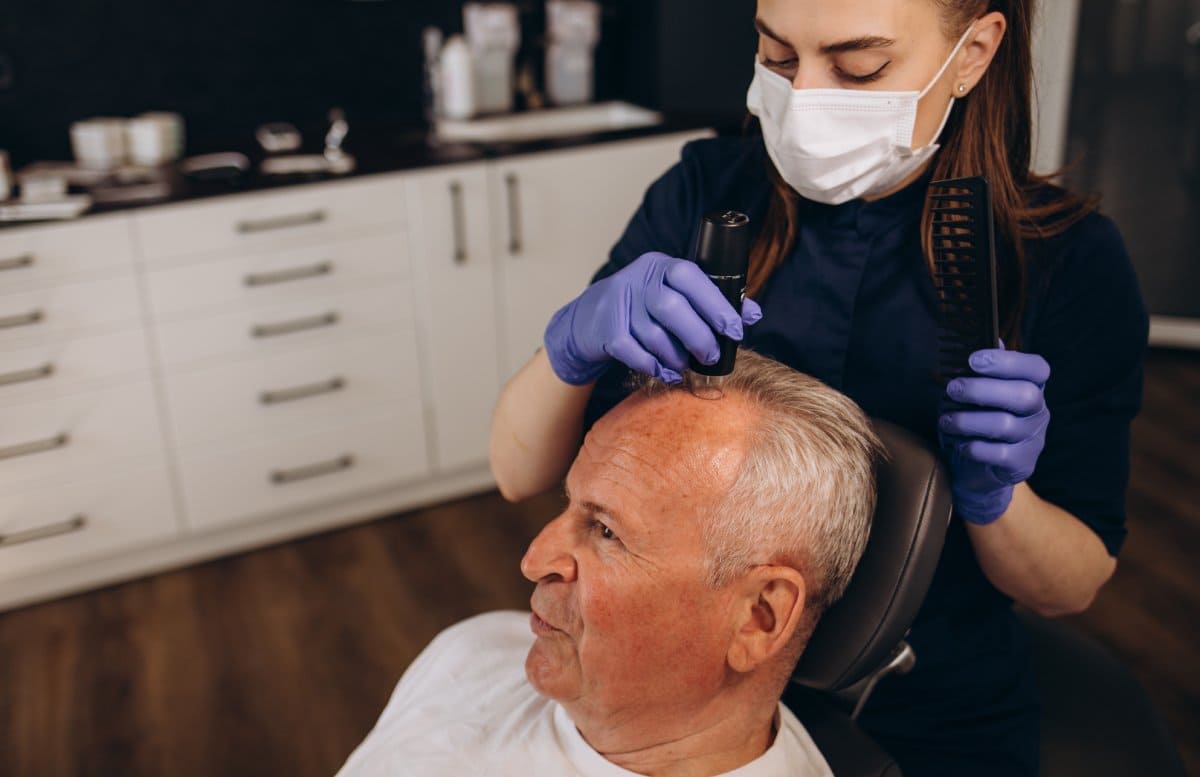
- Scalp analysis: Using tools such as dermatoscopes to check the density and quality of both donor and recipient areas.
- Hairline design: Your surgeon carefully maps out a hairline that fits your age, facial proportions, and future hair loss progression. The goal isn’t just to restore hair, but to achieve a look that will remain natural over the long term.
- Graft estimation: The number of grafts needed is recalculated more precisely than in the photo-based assessment. This ensures a balance between covering current bald areas and preserving donor hair for the future. Since the number of grafts is one of the most important determinants of coverage and natural density, you may find it helpful to read Hair Transplant Graft Counts: How to Know the Right Number for You“
- Medical checks: Basic blood tests and health reviews confirm you’re ready for surgery and anesthesia.
This consultation is often where patients feel most reassured. You see your treatment plan in detail, discuss any concerns directly with the surgeon, and know exactly how the operation will unfold the next day.
Preparation on the Day of Surgery
On the morning of your hair transplant, preparation is just as important as the operation itself. The aim is to create the safest, cleanest, and most comfortable environment for both you and the surgical team.
Here’s what typically happens before the first graft is extracted:
- Hair trimming: Most clinics trim the donor area short to make follicle extraction easier and more precise. In some cases, the entire scalp is shaved for uniformity.
- Sterilization: Your scalp is disinfected thoroughly to minimize any risk of infection.
- Marking the areas: The surgeon re-draws the hairline and recipient zones directly on your scalp. This ensures accuracy and allows you to approve the final design before surgery begins.
- Local anesthesia: Instead of general anesthesia, which puts you to sleep, small injections of local anesthesia numb the donor and recipient areas. You remain awake but comfortable throughout the operation.
- Patient comfort: You’ll be given a comfortable surgical chair or bed, sometimes with entertainment options like TV or music, to help you relax during the several-hour procedure.
This stage may feel routine, but it’s the backbone of a smooth surgery. With the groundwork in place, the team can focus entirely on precision and artistry once graft extraction begins.
Graft Extraction
Once preparation is complete, the surgeon begins the process of harvesting hair follicles from the donor area. This step is vital because the quality of grafts directly determines the naturalness and longevity of your final results.
Here’s what happens during extraction:
- Choosing the donor zone: Typically, grafts are taken from the back or sides of the head, where hair is genetically resistant to balding. (The strength of your donor area directly shapes the outcome of your surgery. Our detailed guide Hair Transplant Donor Area: Why It’s Critical for Natural and Lasting Results explains why this zone is so essential.)
- Micro-punch tools: Using instruments as small as 0.6–1.0 mm in diameter, the surgeon carefully loosens individual follicular units (each containing 1–4 hairs) without damaging the surrounding tissue.
- Minimizing trauma: Modern methods like Sapphire FUE and DHI allow grafts to be removed with minimal scarring, faster healing, and better survival rates.
- Sorting grafts: As follicles are collected, technicians immediately sort and preserve them in a sterile solution. This step protects their vitality until implantation.
- Time and precision: Depending on the number of grafts required, extraction can take several hours. Precision is key as overharvesting or poor technique can harm the donor area or reduce graft survival.
By the end of this stage, you’ll have hundreds or even thousands of grafts carefully harvested, each one prepared to be transplanted into the thinning or balding zones of your scalp.
Preparing the Scalp for Implantation
Once the grafts are safely extracted and preserved, the focus shifts to preparing your scalp for their placement. This stage is one of the most critical in ensuring your new hairline and density look natural and remain permanent. The preparation process is meticulous and requires both technical precision and an artistic eye.
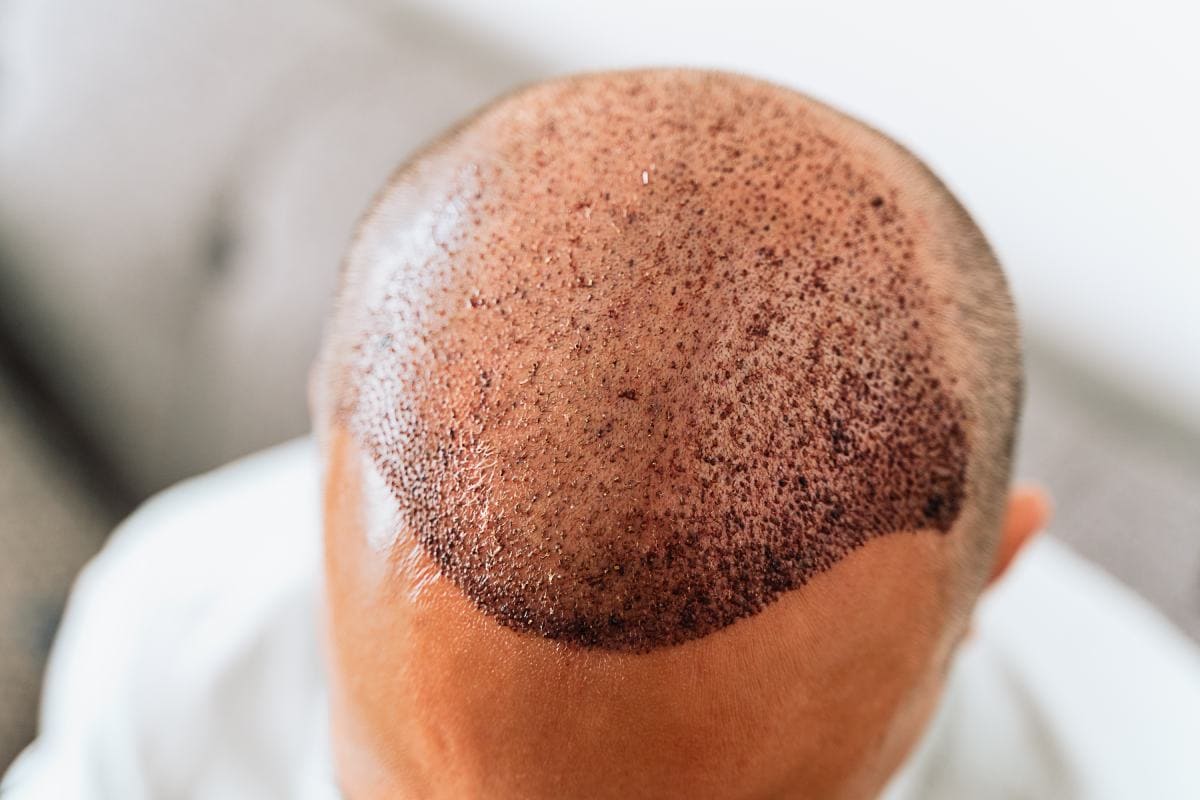
Surgeons begin by creating tiny channels or recipient sites in the thinning or balding areas of your scalp. These channels act as the “new homes” for your grafts, and their direction, depth, and angle determine how natural your results will appear once the hair grows in.
A few key aspects of this stage include:
- Designing the hairline and density: The surgeon maps out the recipient area based on your facial proportions, age, and future hair loss pattern. This design phase is what transforms a transplant from “noticeable” to seamlessly natural.
- Channel creation with advanced tools: Techniques like Sapphire FUE use ultra-fine sapphire blades to open channels with high precision, allowing for denser packing and faster healing compared to traditional steel blades.
- Angle and direction of placement: Each channel is angled to match the natural growth pattern of your existing hair. For example, the crown requires a spiral design, while the frontal hairline follows softer, feathered angles.
- Scalp preparation and sterilization: Before channels are created, the scalp is thoroughly cleaned and disinfected to maintain a sterile surgical field and minimize risks of infection.
By the end of this stage, your scalp is fully prepared to receive the grafts, with every detail, down to the angle of each follicle, carefully planned to ensure a natural outcome.
Implanting the Grafts
With the scalp prepared, the harvested follicles are now implanted into the recipient sites. This step is where artistry meets precision: every graft must be placed at the correct depth, angle, and orientation to ensure natural growth.
Different implantation techniques may be used depending on the patient’s needs, hair type, and the surgeon’s approach. The table below highlights the most common methods:
| Technique | How It Works | Best Suited For | Key Advantages |
|---|---|---|---|
| FUE (Follicular Unit Extraction) | Grafts are manually inserted into pre-made channels. | Patients needing medium to large coverage. | Reliable, widely practiced, effective for most areas of the scalp. |
| Sapphire FUE | Uses sapphire blades to create finer, denser channels before implanting grafts. | Patients seeking high-density, natural hairlines or crown restoration. | Higher precision, faster healing, denser packing possible. |
| DHI (Direct Hair Implantation) | Grafts are implanted directly using an implanter pen, without pre-opening channels. | Patients with limited hair loss or needing refined control over direction/density. | Maximum precision, minimal trauma, no need for pre-made channels. |
Post-Operative Care and Recovery
The surgery itself is only half the journey. How you care for your scalp in the days and weeks after the procedure has a direct impact on your results. Post-operative care is designed to protect the newly implanted grafts, minimize discomfort, and support healthy healing.

Key elements of recovery include:
- Immediate aftercare instructions: You’ll be given detailed guidance on washing, sleeping position, and how to avoid pressure on the treated area.
- Managing swelling and discomfort: Mild swelling or redness is common in the first few days. Cold compresses (away from the grafts) and prescribed medications help ease symptoms.
- Washing the scalp: Special washing techniques, usually starting 2–3 days post-surgery, are introduced gradually to keep the scalp clean without disturbing the grafts.
- Protecting grafts from trauma: Avoid scratching, rubbing, or exposing your scalp to direct sunlight. Activities like swimming, intense workouts, or wearing tight hats should be postponed.
- Shedding phase: Transplanted hairs may fall out within the first few weeks. This is completely normal and part of the growth cycle.
- Growth timeline: New hair typically starts to emerge around the 3–4 month mark, with full results visible after 12–18 months. If you’d like a more detailed overview of the recovery journey and when to expect visible changes, check our comprehensive guide Hair Transplant Timeline: A Guide to Hair Transplant Recovery & Growth Chart.
Hair Transplant Operation in Turkey with MCAN Health: Expertise at Every Step
A successful hair transplant is the result of careful planning, skilled execution, and attentive follow-up at every stage of the recovery. At MCAN Health, we place the same importance on your comfort and confidence as we do on surgical precision, ensuring your journey is smooth from the very first contact until long after your procedure is complete.
When you choose MCAN Health for your hair transplant in Turkey, you benefit from:
- Specialized surgical teams: Experts dedicated solely to hair transplantation, with extensive experience across thousands of international patients.
- Cutting-edge techniques: Advanced options such as FUE, Sapphire FUE, and DHI applied in internationally accredited facilities for natural and lasting results.
- Comprehensive patient journey: From consultation, transfers, and accommodation to post-operative care, every step is designed for your peace of mind.
- Long-term focus: We emphasize ethical planning, donor area preservation, and realistic expectations to safeguard both immediate results and future options.
At MCAN Health, your procedure is a carefully managed process designed to restore your hair, your confidence, and your quality of life. With our expertise and patient-first philosophy, you can trust that every stage of your hair transplant operation is in the right hands.
 The Ultimate Guide to Facelift Procedures: Which One is Right for You?
  Is a Facelift the Right Choice for You? Key Signs to Consider & Questions Answered
  Joe Biden Hair Transplant Analysis